Using Sex Wiki to Create Images and Videos
5 min read
Hello everyone! We’re the OtakuFans team. Thank you for your continued support!
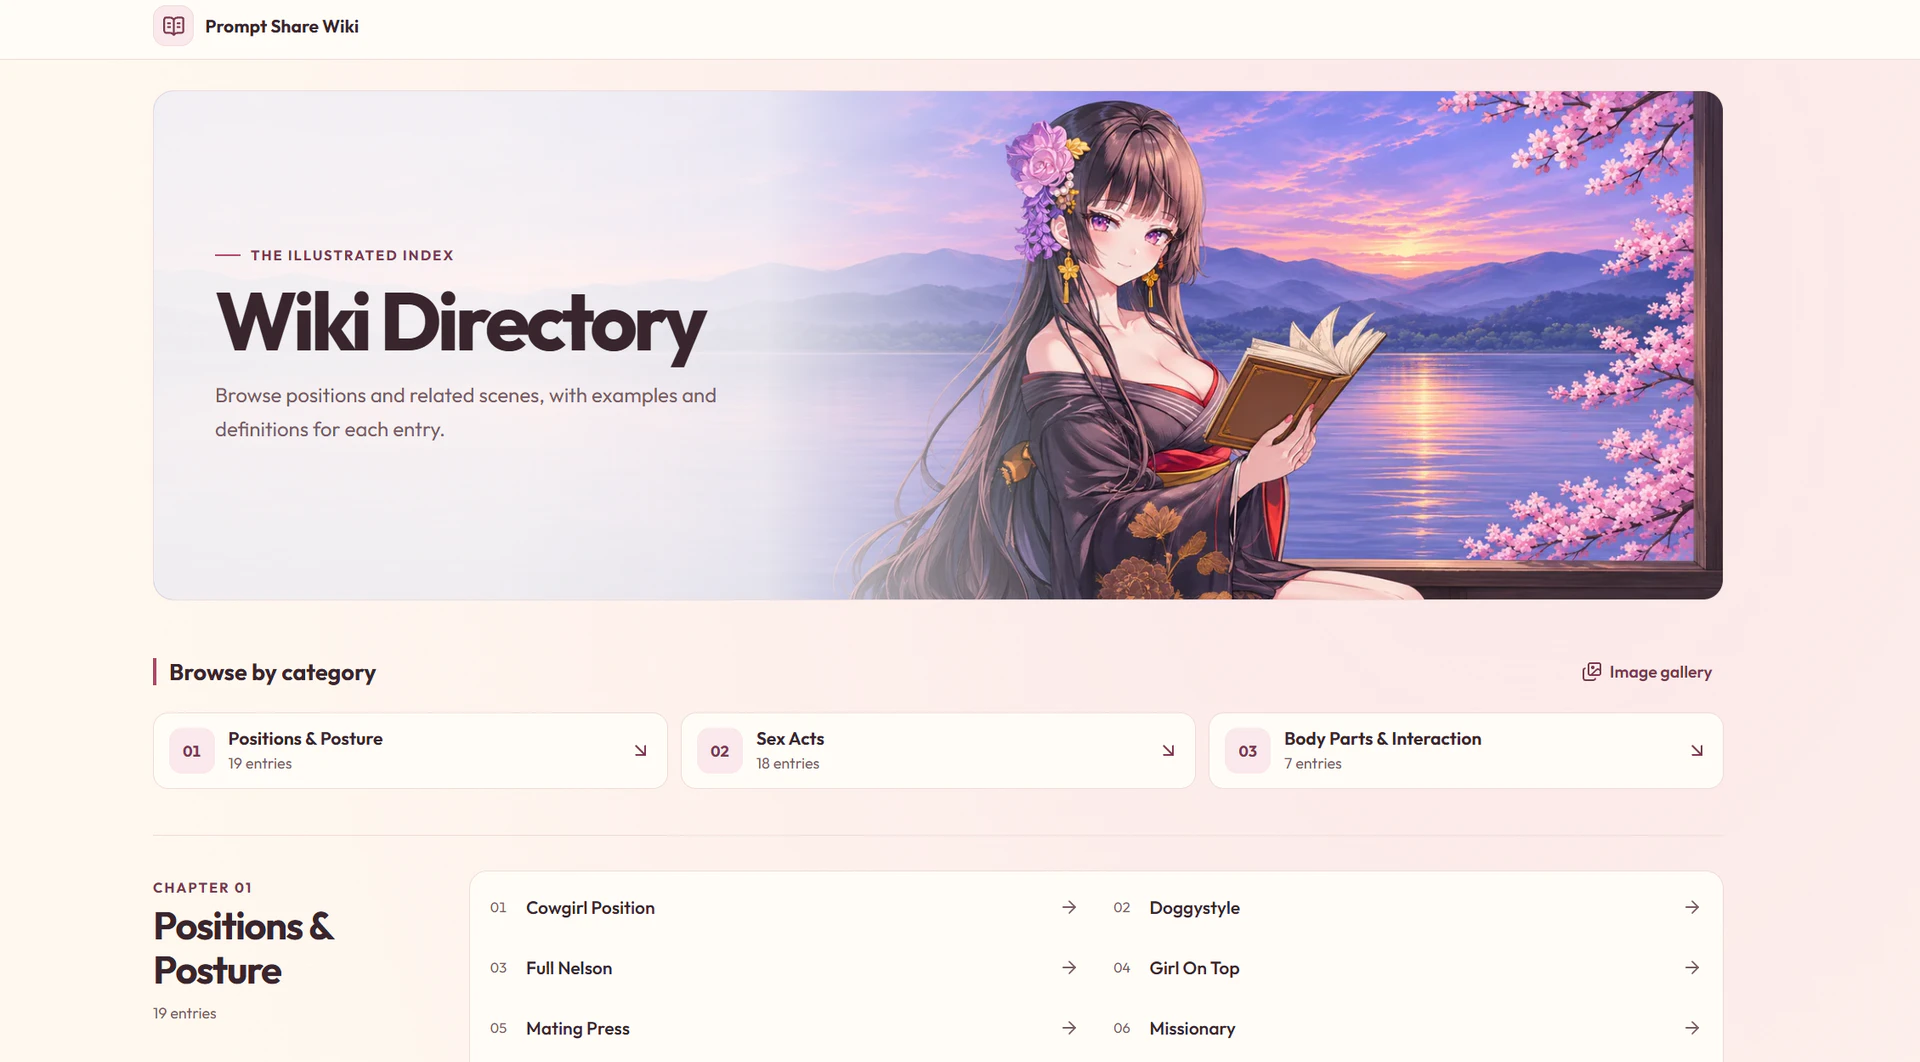
Recently, we launched a new Wiki section: the official OtakuFans encyclopedia of sexual positions. Here, you can look up position names, browse illustrations, compare different variations, and explore the image gallery for inspiration from your favorite works. Once you find something you like, you can head over to Agent and start creating!
Sometimes, you may have a very clear image in your mind, but when it comes to turning it into a prompt, you just can't find the right words. Other times, you want to experiment with new poses and compositions, but no matter how many generations you try, the results keep looking more or less the same. That's when Sex Wiki comes in handy. Drop by and find some fresh inspiration!
For now, the Wiki is mainly intended for anime style creations. Realistic styles are not supported at this time. We'll continue updating the Wiki with more positions and variations to support an even wider range of creative styles.
Now, let's walk you through this new feature with a hands-on creative example!
Find References in the Wiki First
If you already have a pose in mind but not sure how to describe it, simply open the Wiki and look for images that match what you're envisioning.
Click on a pose to open its detailed entry, where you can find an introduction and reference illustrations. You can also browse related poses by swiping through them, compare similar variations, and choose the one that best matches your vision.
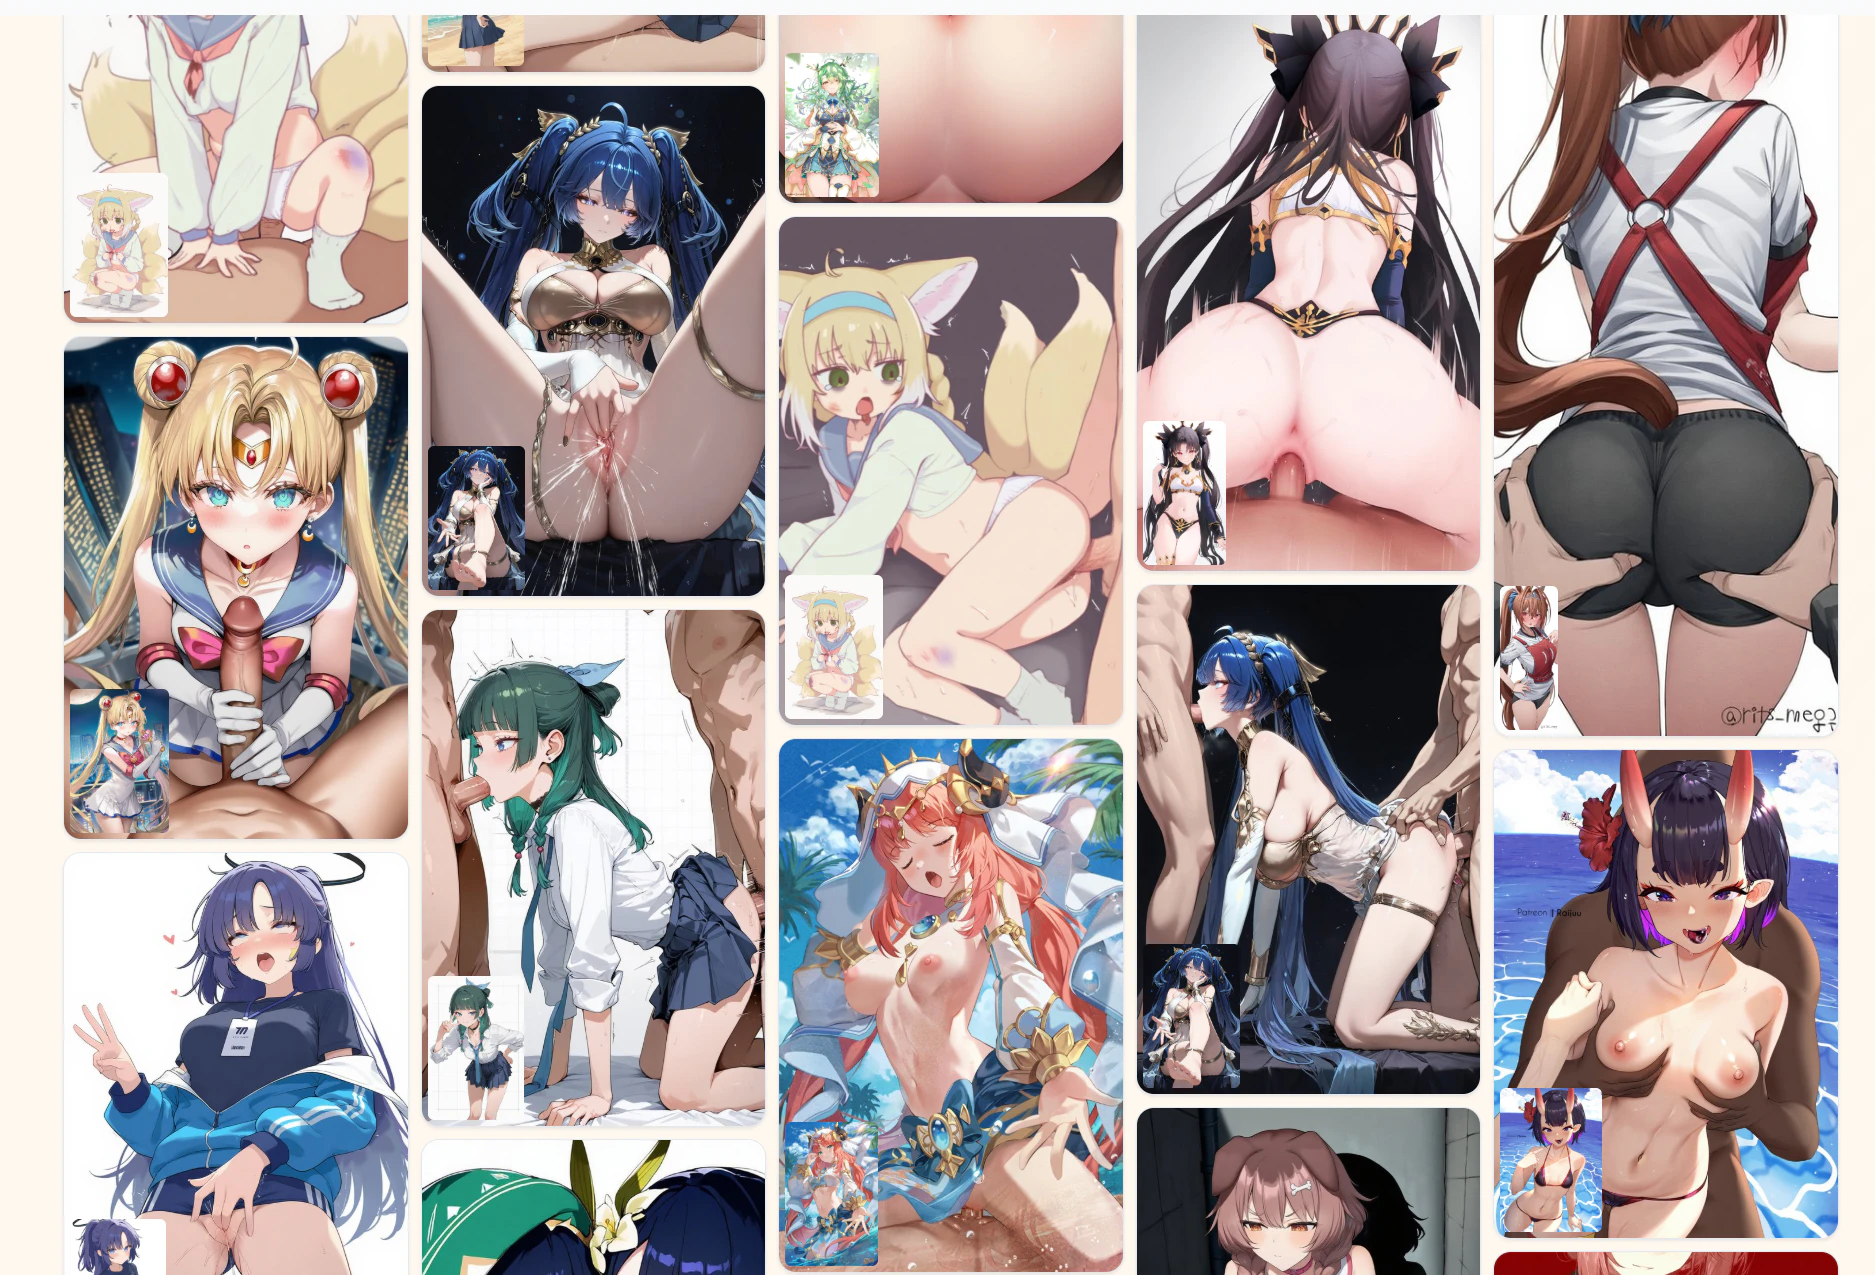
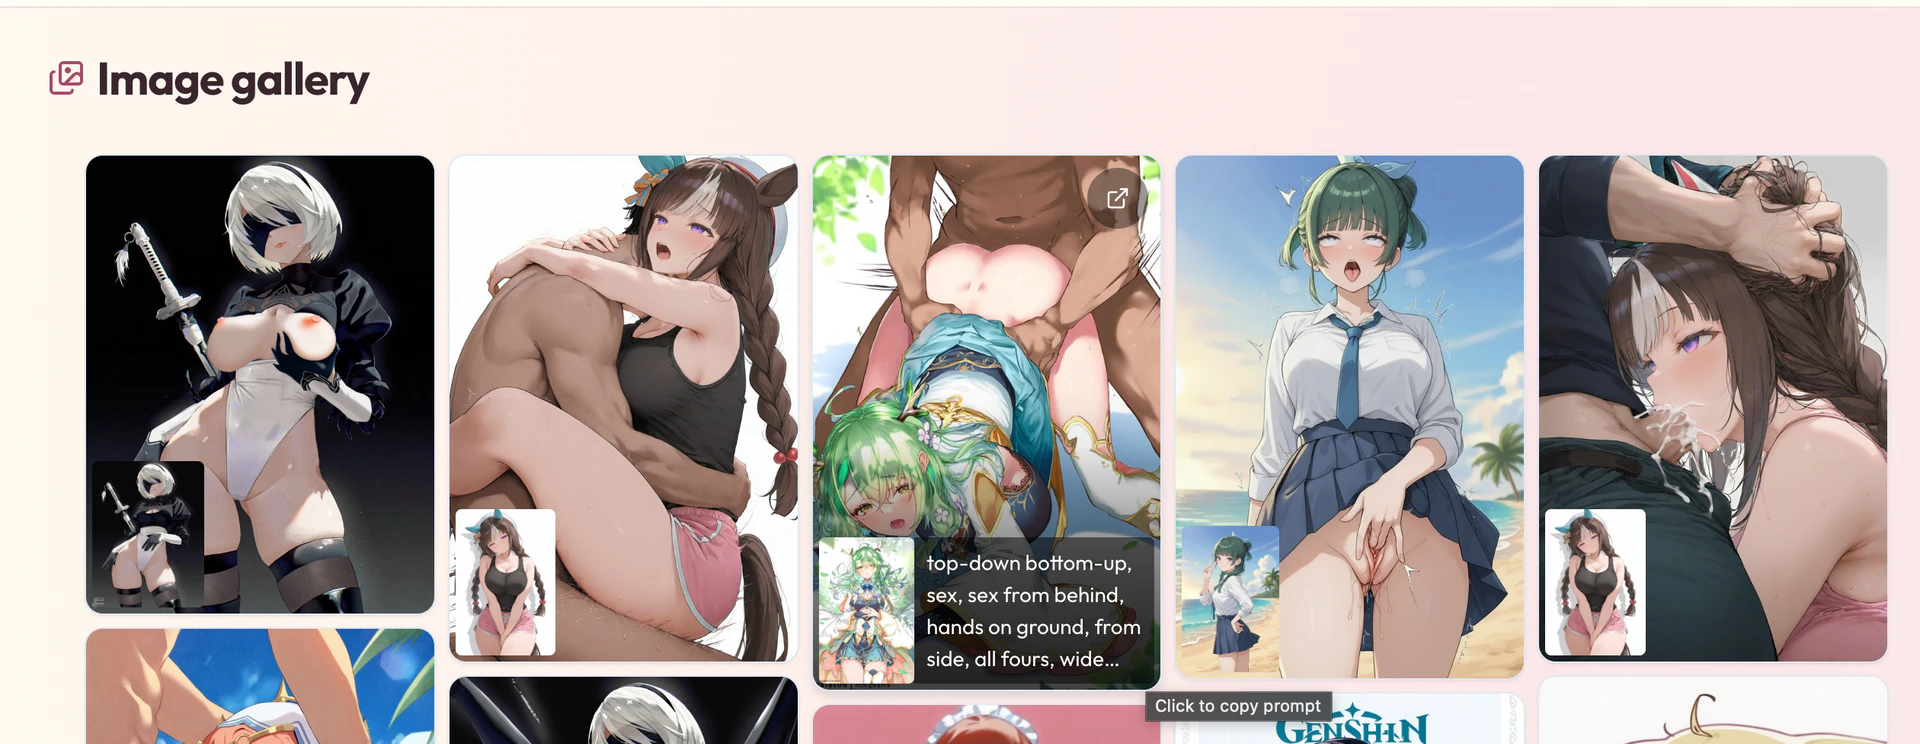
If you're not sure where to start, you can also click Image Gallery to quickly browse through images and spark some inspiration.
For this example, we'd like to generate an image of a woman lying face-down on a bed, and a man is having sex with her from behind.
After opening the Wiki, we browse through the images and find that the cover image for the Prone Bone tag is almost exactly what we have in mind. We open the entry and browse its illustrations, which also closely match our vision. So, we decide to use this entry directly.
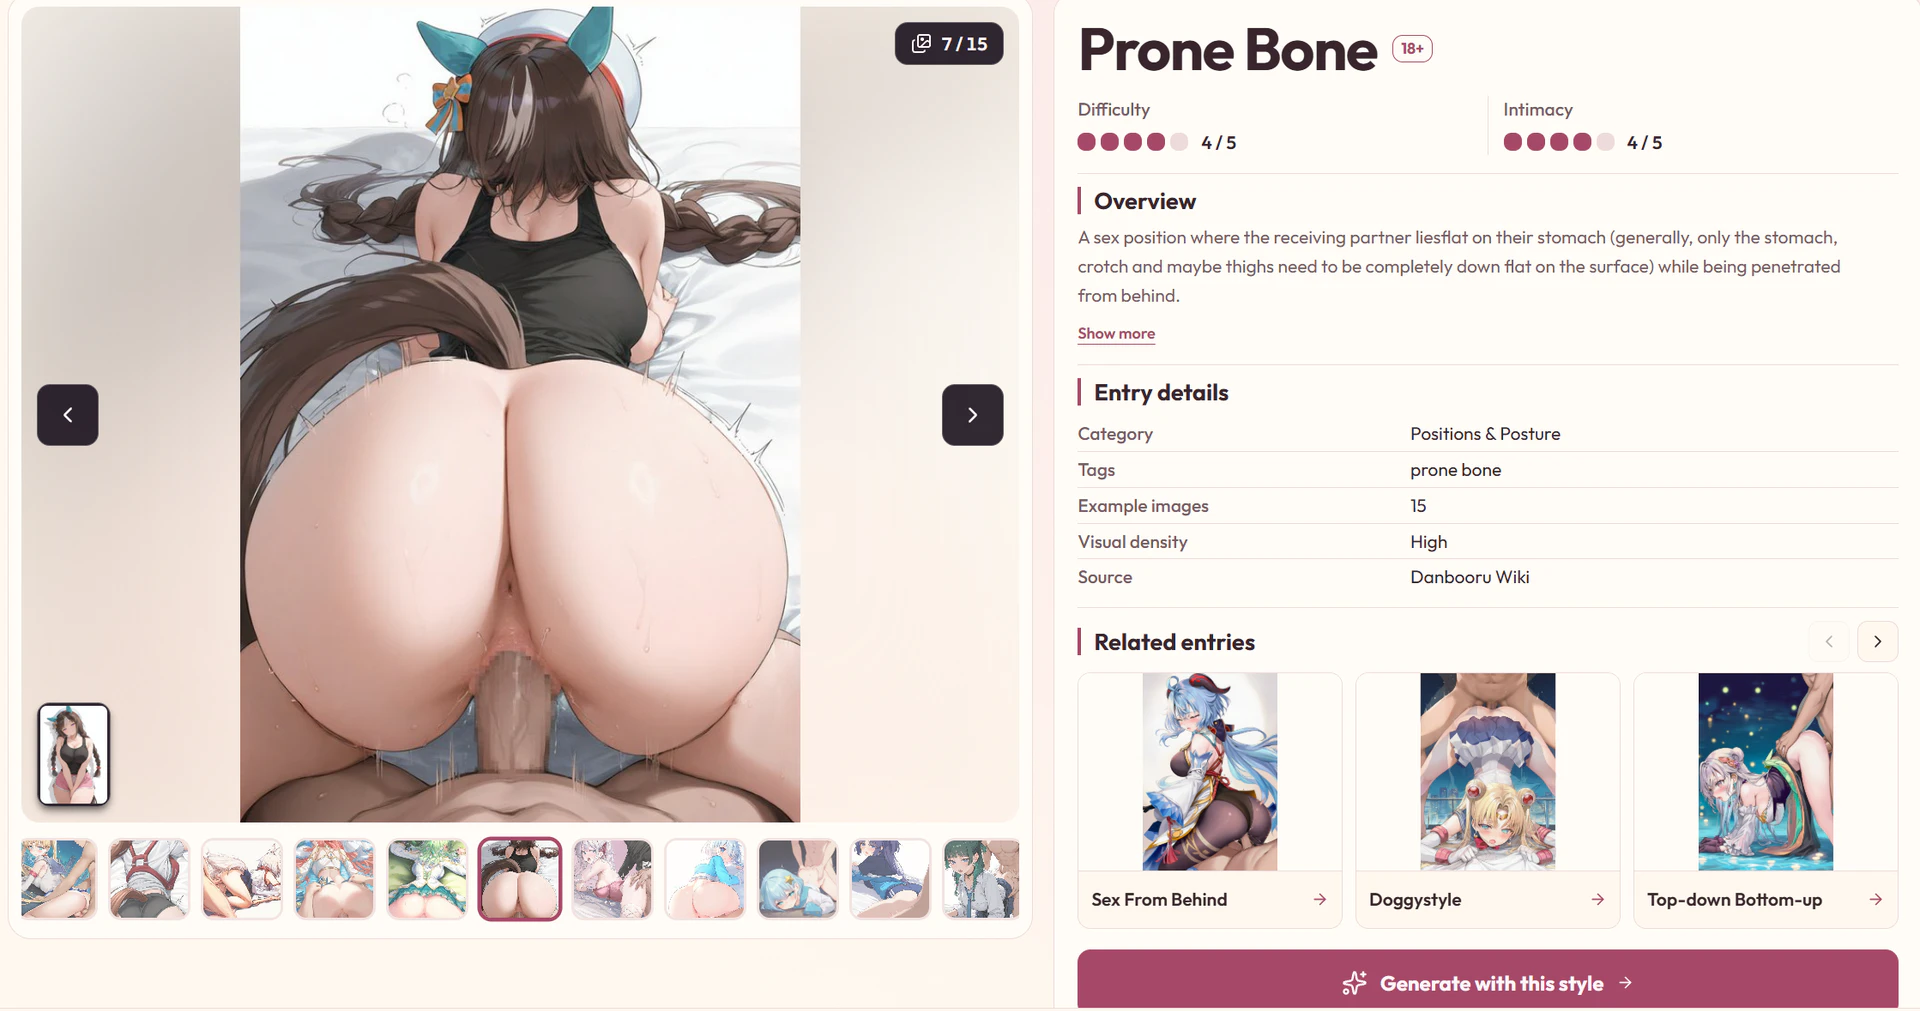
Choose the pose and Give It a Try in Agent
On the pose entry's detail page, click Generate with this style to automatically copy the pose tag into the Agent prompt box. Then upload your reference image, open the generation settings below the prompt box, set the Prompt Thinking Strength to Medium, and click Generate to quickly create your image.

If you find an image you like in the Image Gallery, you can also click the prompt displayed beneath it to copy the entire prompt. Simply paste it into the Agent prompt box to use it.
Let's generate our first batch of images and see how they turn out.
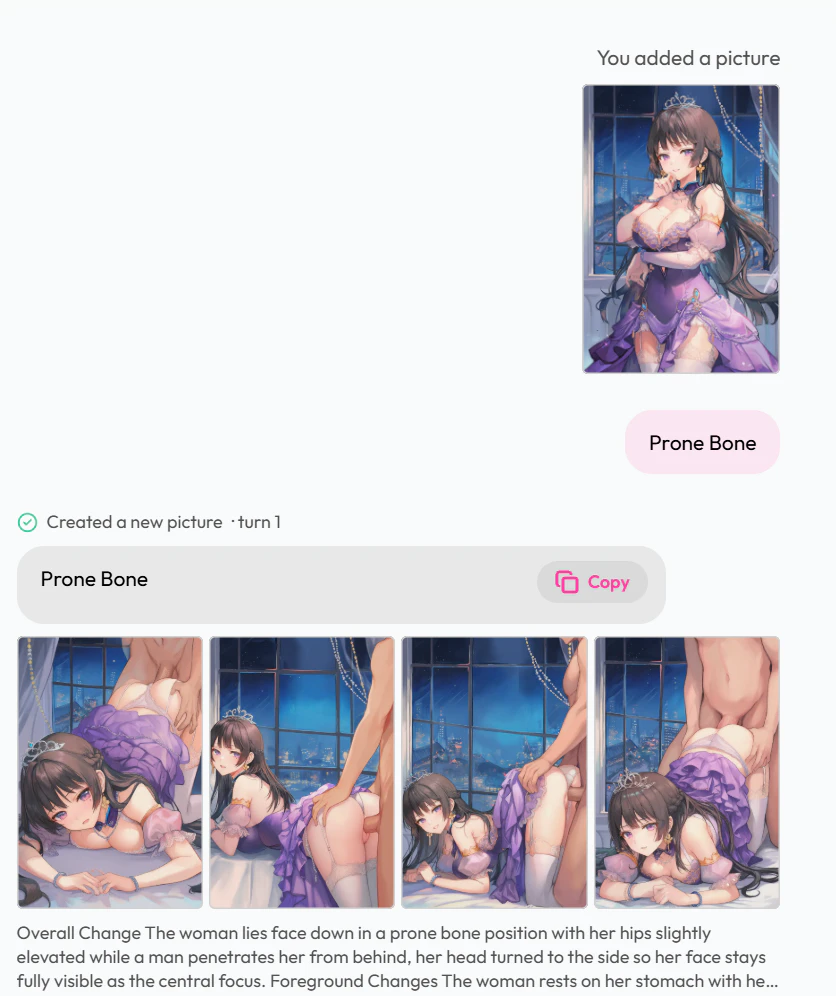
There's no need to get every detail right in the first round. Take a look at the results first, then decide what you'd like to change. This makes it much easier to communicate exactly what you're looking for.
The poses in our first batch are generally what we expected, but the overall atmosphere isn't quite right yet.
So, we stay in the same conversation and make a few adjustments: keep the characters and poses, move the camera closer, dim the lighting, and give the characters more suggestive expressions.
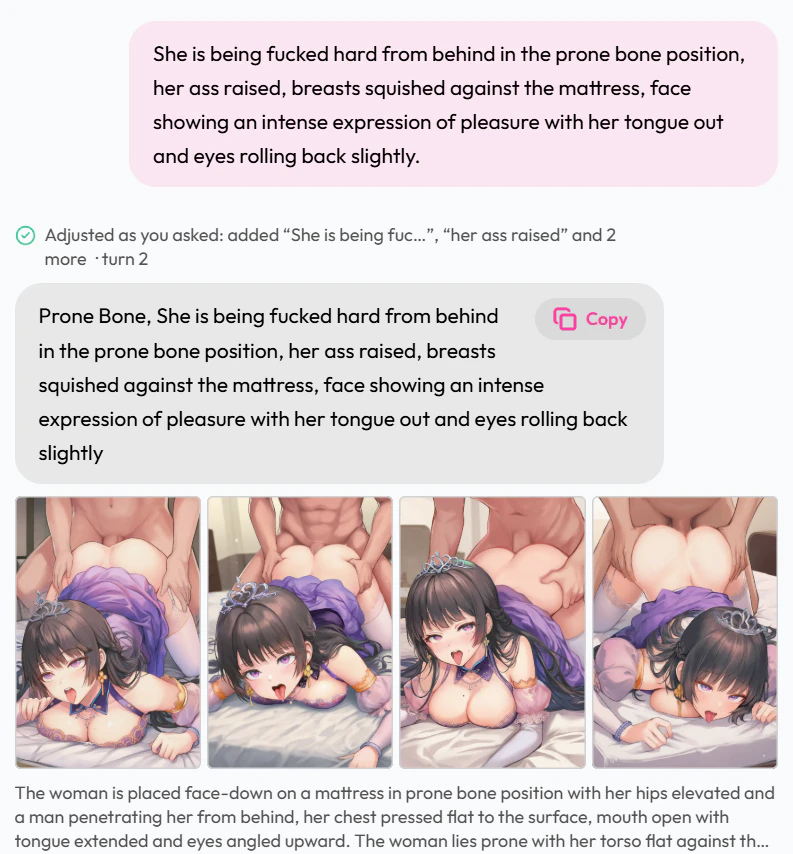
With the first batch of images as a reference, there's no need to describe the entire scene all over again. Simply point out what's already working and what needs to change. This makes the creative process much more straightforward.
You can use the same approach to refine your own creations. Be specific about what you'd like to change: Is the camera too far away? Is the lighting too bright? Is the composition off, or do the expressions need adjusting? Clearly describe the changes you want while specifying which elements should remain unchanged.
The second batch is much closer to what we had in mind. After comparing the results, we select an image with a composition and expression we're happy with, and get ready to try video generation.
Next, we'll use our selected image with the Video feature.
Turn it into a video
This time, we leave the prompt box empty and simply use the image 4 as the input to see what kind of animation Agent generates. This is a way to try: start with the image itself, see what results it produces, and then decide whether they match your expectations.
The generated video retains the original image's visual style while adding motion.
Once you're happy with the result, you can share both the image and video with the community!
Share it in Community
In Agent, open Share, select Community, and then click Publish to Community to publish your work. If you'd like to customize the cover, click Cover and choose the content you want to feature to create a cover you're happy with.
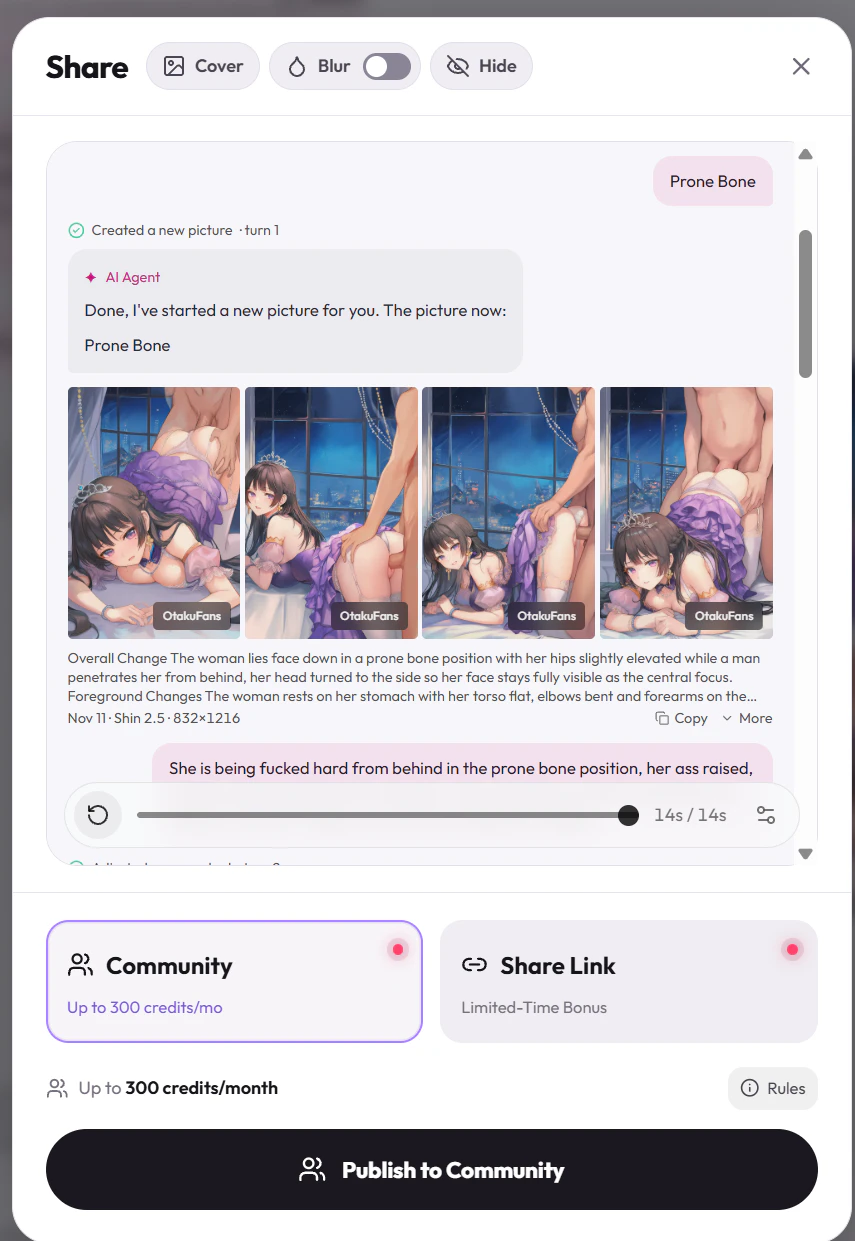
For this example, we've included both the generated images and video in the same post. This way, everyone can not only watch the final video but also compare it with the original images to see how the same scene evolves from a static image into a dynamic video.
Once published, head back to the Community section on the OtakuFans homepage and sort posts by Latest to find your newly shared creation.
And that's our creative workflow for this tutorial: find references in the Wiki, generate and refine images in Agent, turn your favorite image into a video, and share your creations with the community.
You don't need to write a comprehensive prompt right from the start. Picking a reference image that catches your eye, generating an initial result, and gradually refining it can be a great way to bring your ideas to life.
Thank you for reading! If there's another feature you'd like to learn more about, feel free to submit your suggestions through a customer support ticket.
Happy creating on OtakuFans!
The OtakuFans Team